Sage is a popular herb that has been used for centuries in various cultures for its medicinal and culinary properties. It is believed to have cleansing properties that can purify the air, promote relaxation, and relieve stress. Dried sage bundles, also known as smudge sticks, are commonly used in spiritual practices to ward off negative energy and promote positivity.
If you’re interested in drying your own sage bundles at home, this comprehensive guide will walk you through the process step by step.
Table of Contents
- Choosing the Right Sage
- Harvesting Sage
- Preparing Sage for Drying
- Air-Drying Sage Bundles
- Oven-Drying Sage Bundles
- Microwave-Drying Sage Bundles
- Storing Dried Sage Bundles
- Using Dried Sage Bundles
- Conclusion
- FAQs
How To Dry Sage Bundles
Drying sage bundles at home is a simple and rewarding process that can be done in various ways. Whether you prefer to air-dry your sage bundles or use an oven or microwave, the end result is a fragrant and potent smudge stick that can be used for spiritual or culinary purposes. In this guide, we’ll cover everything you need to know to dry sage bundles at home, including how to choose the right sage, how to harvest and prepare it, and the best methods for drying and storing your sage bundles.
Choosing the Right Sage
The first step in drying sage bundles at home is choosing the right sage type. There are many varieties of sage, but the most commonly used for smudging and cooking is white sage (Salvia apiana). This sage has a strong, earthy aroma and is believed to have powerful cleansing properties.
When selecting sage, look for fresh, green leaves that are free of blemishes or yellowing. The leaves should be plump and slightly fuzzy to the touch. Avoid sage that has been treated with pesticides or other chemicals, as these can affect the quality of the dried sage bundles.
Harvesting Sage
Once you’ve selected your sage, it’s time to harvest it. Sage should be harvested in the morning after the dew has dried but before the sun is too hot. Use a pair of sharp scissors or pruning shears to cut the stems of the sage plant, leaving about 6 inches of stem attached to the leaves.
It’s important to only harvest about one-third of the plant at a time, as this allows the plant to continue growing and producing new leaves. Be sure to leave enough leaves on the plant to promote healthy growth.
Preparing Sage for Drying
Before you can begin drying your sage, you’ll need to prepare it. Start by removing any damaged or discolored leaves from the stems. You can also trim the stems to make them more uniform in size.
Once your sage is trimmed, bundle several stems together and tie them tightly with a piece of string or twine. Be sure to tie the string tightly so that the sage doesn’t fall out of the bundle.
Air-Drying Sage Bundles
Air-drying sage bundles is the traditional method for drying sage and is simple to do.
Hang your sage bundles upside down in a cool, dry, and well-ventilated area, such as a closet or pantry. Be sure to hang the bundles away from direct sunlight, as this can cause the sage to lose its potency.
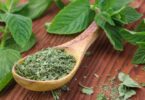
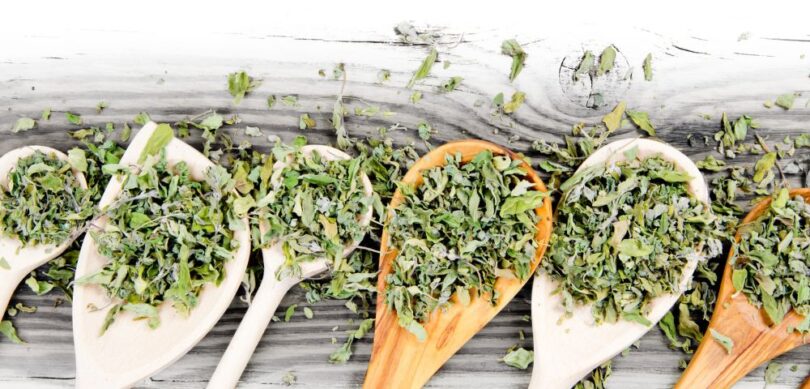
Allow your sage bundles to dry for about 2-3 weeks, or until the leaves are completely dry and crumbly. Once your sage is dry, remove the leaves from the stems and store them in an airtight container.
Oven-Drying Sage Bundles
Oven-drying is another popular method for drying sage bundles at home.
To do this, preheat your oven to the lowest setting and line a baking sheet with parchment paper.
Place your sage bundles on the baking sheet and allow them to dry in the oven for 2-3 hours, or until the leaves are dry and crumbly.
Be sure to keep an eye on your sage while it’s in the oven, as it can easily overheat and burn. If you notice any discoloration or burning, remove the sage from the oven immediately.
Oven-drying sage bundles is a great option if you don’t have a lot of space for air-drying, and it produces a quick and evenly-dried product. Just make sure to watch your sage closely and remove it from the oven as soon as it’s dry.
Microwave-Drying Sage Bundles
If you’re short on time, you can also dry your sage bundles in the microwave.
To do this, place your sage bundle on a microwave-safe plate and microwave it on high for 1-2 minutes, or until the leaves are dry and crumbly.
Be sure to watch your sage carefully while it’s in the microwave, as it can quickly overheat and catch fire. If you notice any smoke or burning, stop the microwave immediately and remove the sage.
Storing Dried Sage Bundles
Once your sage is dry, it’s important to store it properly to maintain its potency and freshness. Store your dried sage bundles in an airtight container, such as a glass jar or plastic bag, in a cool, dry, and dark place.
Avoid storing your sage in areas that are exposed to heat, light, or moisture, as this can cause it to lose its flavor and potency. Properly stored dried sage can last for up to a year.
See more on how to store dried herbs.
Using Dried Sage Bundles
Dried sage bundles can be used for a variety of purposes, including spiritual cleansing, cooking, and aromatherapy. To use your sage bundle for spiritual cleansing, light one end of the bundle and allow it to smolder. Waft the smoke around your home or workspace to purify the air and promote positive energy.
Dried sage can also be used in cooking, particularly in savory dishes such as soups, stews, and roasted meats. Simply crumble the dried leaves and add them to your recipe.
Finally, dried sage can be used in aromatherapy to promote relaxation and relieve stress. Place a small bundle of dried sage in a bowl or dish and light one end. Allow the smoke to fill the room and breathe deeply.
Conclusion
Drying sage bundles at home is a simple and rewarding process that can be done in various ways. Whether you prefer to air-dry, oven-dry, or microwave-dry your sage, the end result is a fragrant and potent smudge stick that can be used for spiritual or culinary purposes. By following the steps outlined in this guide, you can easily harvest, prepare, and dry your own sage bundles at home.
FAQs
- Can I dry other types of sage besides white sage? Yes, you can dry other types of sage for culinary purposes, but white sage is the most commonly used for spiritual cleansing.
- Can I use fresh sage for smudging? Fresh sage can be used for smudging, but dried sage bundles are more potent and easier to handle.
- How do I know when my sage is dry enough to use? Your sage is dry enough to use when the leaves are completely dry and crumbly.
- Can I use a dehydrator to dry sage bundles? Yes, you can use a dehydrator to dry sage, but be sure to follow the manufacturer’s instructions and set it to a low temperature.
- How often should I replace my dried sage bundles? Dried sage bundles can last for up to a year if stored properly, but it’s a good idea to replace them every 6-12 months for optimal freshness and potency.