Learn how to grow dill in pots indoors.
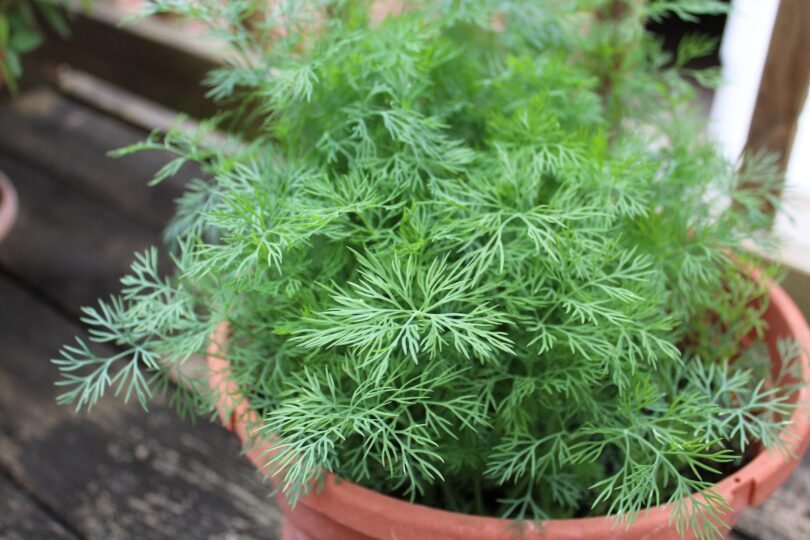
Dill is a biennial herb, but it grows best as an annual in most climates. If grown in clusters on the ground, it can self-seed and continue to grow as a perennial. It’s also a great choice for your container herb garden, where it will thrive.
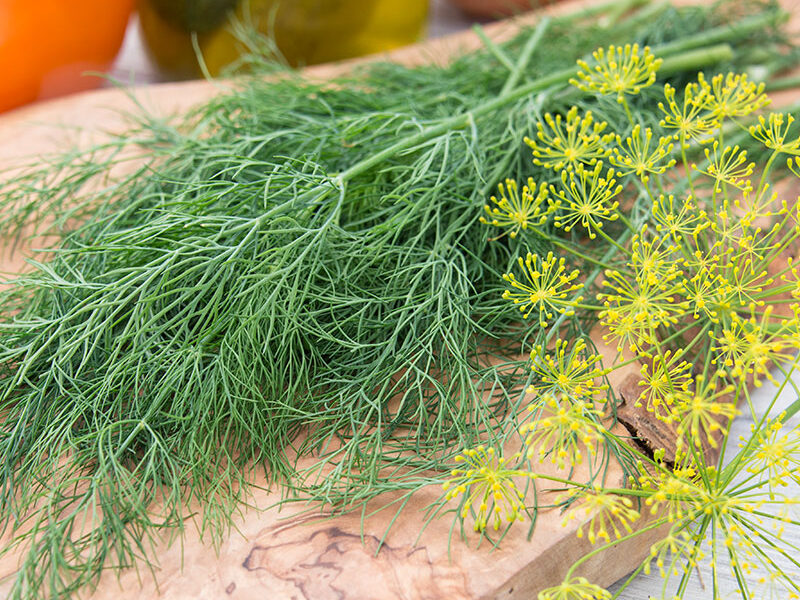
Dill features airy green fronds, similar to those of a fern, with a sweet perfume reminiscent of licorice and anise seeds. This widely used kitchen herb may be used as a spice and a herb. Preparing salads and vegetables, making sauces, and cooking meats and shellfish is easy with fresh fronds. The seeds are used to flavor pickles and stews, and rice and bread with sauerkraut are simple with dried fronds.
SEE ALSO: How To Dry Dill – 4 Methods of Drying Dill at Home
How to Grow Dill in Pots (Indoors)
Step 1: Choose the right type of dill
Dill is available in various varieties, including Bouquet, Superdukat, Fernleaf, and Long Island Mammoth, among others. When comparing the Superdukat to the Long Island Mammoth, the Superdukat is the recommended choice for culinary demands and for growing in a small container.
Superdukat
This tiny hybrid type of dill is bred particularly to be tastier, and because of its compact form, it is perfect for growing in containers. Compared to Bouquet Dill, this cultivar may reach a height of 12-24 inches, although it grows slower.
It also has the advantage of being hesitant to diminish, which allows it to be utilized for a longer amount of time. This is the kind to cultivate if you prefer more leaves than seeds in your garden.
Long Island Mammoth

This kind of dill, like all other varieties, develops taproots and is difficult to transplant. For this reason, if you’re growing dill in pots, make sure it’s at least 12-14 inches deep and broad since the Long Island Mammoth may grow up to 36 inches tall and spread out to roughly 24 inches wide when fully mature. It is often grown by commercial dill growers and does best when grown in the open air.
Step 2: Choose the perfect container
Because dill has a long taproot, you’ll need a 5-gallon container at least 12 inches deep and wide. One plant may be grown in such a container. Choose a 10-inch-deep pot for smaller types. Get a considerably larger pot if you want to grow a couple of dill weed plants.
Step 3: Plant the seeds
Dill seeds should not be grown in seed trays; instead, put the dill seeds directly in chosen pots since dill plants have extensive taproots and are difficult to transplant. In pots, scatter dill seeds and top with a 1/4-inch layer of soil mix.
Maintain an equal moisture level in the soil while the seeds germinate, which takes around 7 to 10 days. If the growth circumstances aren’t ideal or the seed quality is low, you’ll have to wait until 21 days. Wait until the seedlings grow about 4-6 inches tall before thinning them down to one or two plants per container, preserving only the strongest.
Step 4: Use the right soil
When growing dill in pots, use a well-drained, loamy potting soil. While it can survive poor soil, it’s a good idea to add 20% old manure or compost to your growth medium at the time of planting to make it somewhat richer.
Step 5: Positioning the container
Provide a place with full sun or at least six hours of direct sunshine every day and enough air circulation. Dill may be grown in half sun, although it will not grow as bushy as in full light.
If you’re growing dill in pots indoors, place it in a window that faces south or west for the best results. Save this plant from the hot afternoon sun if you live in a subtropical or tropical region, especially in the summer.
Step 6: Watering dill in pots
If the dill plant is growing in a clay pot in a sunny and windy environment, it will dry out faster, and you will need to water it frequently to keep the soil moist—water just when the soil is starting to dry while growing indoors or in partial sunlight. You’ll need to keep the soil moist if you live in a hot region or throughout the summer.
To avoid root rot, don’t overwater. To avoid fungal infections, avoid overhead watering; instead, you must water near the base of the plant.
Step 7: Fertilizing dill plants
It’s time to fertilize your dill plant when it’s several inches tall and roughly 2-4 weeks old. Feed it every four weeks with a balanced liquid fertilizer at half the label’s recommended dosage. If you wish to avoid using artificial fertilizers, side-dress this plant once or twice throughout the growing season using old manure or compost.
Step 8: Pruning dill
As with other herbs, pinch back the top growth tips of a new 4-5-inch-tall dill plant to make it bushier. You don’t need to prune this plant if you harvest it frequently. Trim no more than 1/3 of the plant’s growth at a time for pruning or harvesting. Trimming the top leaves encourages bushier dill growth.
Here is a nice video about growing dill in a pot indoors.